
Photoshop Designs Step by Step
Learn how to create professional photoshop designs through a practical step-by-step guide covering workspace setup, layers, effects, and export techniques. Suitable for beginners and experienced designers alike.
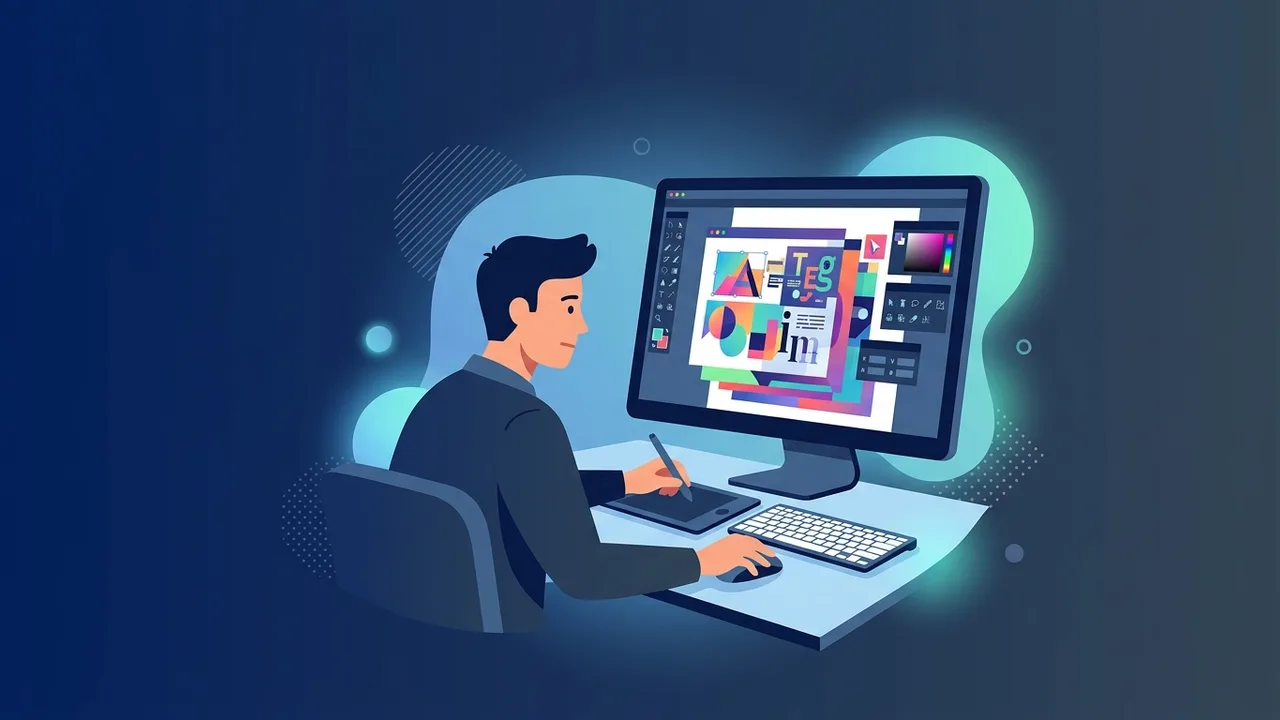
Overview of Photoshop Designs
Photoshop designs represent one of the most sought-after skill sets in the digital creative industry. Whether you are a professional graphic designer, a marketing specialist, or a business owner looking to build a strong visual identity, mastering Adobe Photoshop opens the door to producing high-quality visual content that stands out in any market. The tool's versatility makes it suitable for everything from social media graphics and advertising banners to complex photo composites and print-ready artwork.
In the Saudi market specifically, demand for skilled designers capable of delivering professional photoshop designs has grown significantly alongside the expansion of digital transformation initiatives and the rise of local brands seeking polished visual communication. This step-by-step guide is designed to give you a clear, practical roadmap for creating compelling photoshop designs from the ground up.
Key Features of Photoshop for Design Work
Adobe Photoshop offers a comprehensive suite of features that make it the industry standard for photoshop designs. Understanding these capabilities is essential before diving into the workflow:
- Layer-Based Editing: Every element in your design can exist on its own independent layer, allowing you to move, edit, and style components without affecting the rest of the composition.
- Layer Masks: Masks let you hide or reveal parts of a layer non-destructively, which is invaluable for blending images and creating seamless compositions in photoshop designs.
- Selection Tools: The Pen Tool, Quick Selection Tool, and the AI-powered Select Subject feature provide precise control over isolating and manipulating specific elements.
- Adjustment Layers: Apply color corrections, brightness adjustments, and tonal changes without permanently altering original image data.
- Filters and Effects: Hundreds of built-in filters allow you to stylize images, create textures, and apply artistic effects with a few clicks.
- Smart Objects: Embed vector or raster content as Smart Objects to enable non-destructive transformations and maintain quality at any scale.
- Adobe Ecosystem Integration: Seamless compatibility with Illustrator, InDesign, and Premiere Pro streamlines complex creative workflows.
How to Create Photoshop Designs Step by Step
Following a structured workflow is the key to producing consistent, high-quality photoshop designs. Here is a detailed breakdown of each stage:
Step 1: Define the Purpose and Dimensions
Before opening the application, clarify what the design is for — a social media post, a print advertisement, a website banner, or a product label. Each use case has specific dimension and resolution requirements. Use 72 PPI for screen-based designs and 300 PPI for print output to ensure sharpness and clarity.
Step 2: Set Up the Workspace
Create a new document via File > New and enter your dimensions, resolution, and color mode. Choose RGB for digital output and CMYK for print. Customize your workspace by enabling the panels you use most frequently, such as Layers, Properties, and Color, to keep your environment efficient and organized.
Step 3: Build the Design Structure
Start with the background element, then add design components layer by layer. Name each layer clearly and use layer groups to organize related elements. Enable Guides and Grid from the View menu to maintain precise alignment throughout your photoshop designs.
Step 4: Work with Typography and Color
Use the Type Tool to add headings and supporting text. Select fonts that align with the brand personality and ensure readability across different sizes. Apply a consistent color palette using the Color Picker or Swatches panel, and consider the 60-30-10 color rule to achieve visual balance — 60% dominant color, 30% secondary color, and 10% accent color.
Step 5: Apply Effects and Refinements
Use Adjustment Layers such as Curves, Levels, and Hue/Saturation to fine-tune the overall look of your composition. Add depth and dimension through Layer Styles including Drop Shadow, Inner Glow, Bevel and Emboss, and Stroke. These non-destructive techniques allow you to refine your photoshop designs at any point without starting over.
Step 6: Review and Export
Zoom into different areas of the composition to check for pixel-level accuracy. Use Soft Proofing under View > Proof Colors to simulate how the design will appear in print. Export using Save for Web for digital formats, or use Export As for higher-quality PNG and JPEG outputs. Always retain the original PSD file for future revisions.
Common Questions About Photoshop Designs
Beginners frequently encounter similar questions when getting started with photoshop designs. Here are clear answers to the most common ones:
- Can Photoshop handle all types of graphic design? It excels at photo-based and raster design work. For scalable vector-based graphics such as logos, pairing it with Illustrator delivers better results.
- What is the difference between PNG and JPEG for exporting? PNG supports transparency and is ideal for logos and UI elements, while JPEG uses compression suitable for photographs and large imagery.
- How do I keep designs sharp when scaling up? Use Smart Objects to preserve quality during transformations, and work at a higher base resolution when print output is anticipated.
- How many layers should a typical design have? There is no fixed number — use as many as needed, but keep them organized with groups and clear naming conventions to maintain workflow efficiency.
Important Tips for Better Photoshop Designs
Beyond learning the tools, developing strong habits and design instincts is what separates good photoshop designs from great ones. Apply these professional tips consistently:
- Master Keyboard Shortcuts: Shortcuts like Ctrl+Z (undo), Ctrl+G (group layers), and Ctrl+T (free transform) dramatically speed up your workflow once they become second nature.
- Save Frequently and Use Versions: Enable Auto-Save and periodically save numbered versions of your file to protect your work and maintain a revision history.
- Study Design Principles: Understanding contrast, alignment, repetition, proximity, and hierarchy will elevate the quality of every photoshop design you produce.
- Analyze Professional Work: Browse creative showcase platforms regularly to observe current design trends and refine your visual taste over time.
- Maintain Organized File Structures: Clear layer naming, consistent folder grouping, and logical file naming conventions make collaboration and future edits significantly easier.
- Document Color Values: When creating brand assets, record HEX, RGB, and CMYK values for every color used to ensure consistency across all digital and print materials.
- Use Licensed Resources: When incorporating templates, brushes, or stock assets into your photoshop designs, always verify that the license permits your intended use, especially for commercial projects.
Conclusion
Creating professional photoshop designs is a learnable skill that rewards consistent practice and methodical attention to both technique and aesthetics. By following a structured workflow — from defining the purpose and setting up the workspace to applying effects and exporting correctly — you build a repeatable process that produces reliable, high-quality results. Whether you are designing for social media, print, or digital marketing, the fundamentals covered in this guide provide a solid foundation to grow from.
If you need a genuine Adobe Master Collection 2025 Windows Lifetime license, you'll find it at ABMKeys at a fair price with instant WhatsApp delivery.
Frequently Asked Questions
What resolution should I use when creating photoshop designs for print?
Can I create photoshop designs without a formal design background?
What file format should I use to save editable photoshop designs?
How do I manage color consistency across my photoshop designs?
You can get a genuine license from ABMKeys at a competitive price with instant WhatsApp delivery.
Buy Now