
Photoshop Brushes from Zero to Pro
Photoshop brushes are one of the most powerful creative tools in Adobe Photoshop, offering designers virtually unlimited possibilities for digital painting and design. This step-by-step guide covers everything from basic setup to advanced techniques for getting the most out of Photoshop brushes.
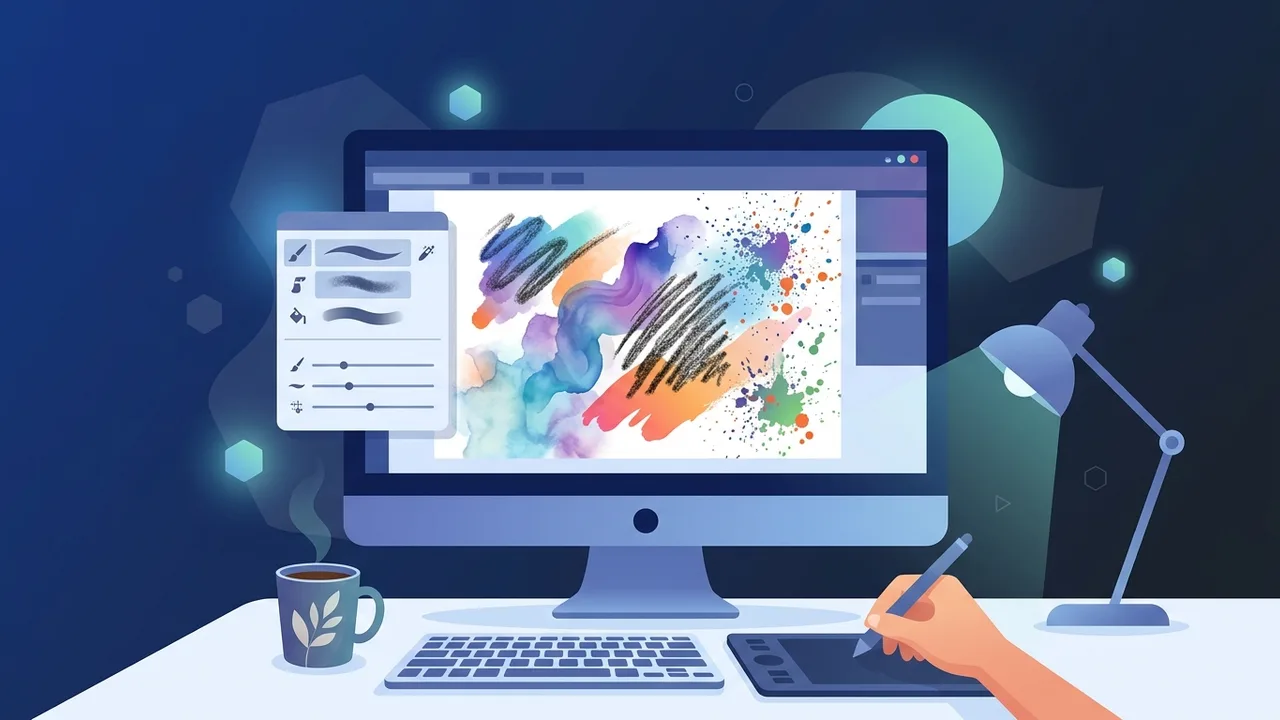
Overview of Photoshop Brushes
Photoshop brushes are among the most powerful and versatile tools available in Adobe Photoshop. Whether you are a beginner just starting out in digital design or a seasoned professional looking to refine your workflow, mastering Photoshop brushes can dramatically elevate the quality and expressiveness of your work. At their core, brushes allow you to paint, texture, retouch, and illustrate with an extraordinary range of styles — all within a single application.
The fundamental principle behind Photoshop brushes is simple: a defined shape, called a brush tip or stamp, is repeatedly applied along a stroke path. This tip can be a basic circle, a custom leaf shape, a calligraphic stroke, or even a photograph converted into a brush preset. That simplicity, combined with deep customization options, makes Photoshop brushes an essential skill for any digital creator.
Key Features of Photoshop Brushes
Understanding what makes Photoshop brushes so capable helps you use them more deliberately and effectively. Here are the standout features:
- Extensive Built-in Library: Photoshop ships with hundreds of preset brushes organized into categories such as general brushes, dry media, wet media, special effects, and legacy brushes.
- Deep Customization: Every aspect of a brush — size, hardness, angle, roundness, spacing, opacity, flow, and blending mode — can be adjusted in real time.
- Brush Settings Panel: Advanced controls like Shape Dynamics, Scattering, Texture, Color Dynamics, and Transfer allow you to simulate natural media such as watercolor, charcoal, and oil paint.
- Pressure Sensitivity: When paired with a drawing tablet, Photoshop brushes respond to pen pressure and tilt, producing strokes that closely mimic traditional art tools.
- Custom Brush Creation: Any shape or image can be turned into a custom brush preset, giving you a personalized toolkit tailored to your style.
- Third-Party Brush Support: The .abr file format allows you to import brush packs created by artists and designers worldwide, expanding your library instantly.
How to Use Photoshop Brushes: A Step-by-Step Guide
Follow these steps to go from a complete beginner to a confident user of Photoshop brushes:
Step 1: Activate the Brush Tool
Open Adobe Photoshop and create a new document or open an existing project. Select the Brush Tool from the left toolbar, or simply press the keyboard shortcut B. The options bar at the top of the screen will update to show brush-related controls.
Step 2: Open the Brush Picker
Click the brush preview icon in the options bar to open the Brush Picker dropdown. Here you will find all available preset brushes organized in folders. You can search by name or scroll through categories to find the style you need. Hover over any brush to see a tooltip preview of its shape.
Step 3: Adjust Size and Hardness
Use the Size slider in the Brush Picker to set the diameter of the brush tip. The Hardness slider controls edge sharpness — a value of 100% produces crisp, defined edges, while lower values create soft, feathered edges ideal for shadows and subtle effects. For quick adjustments while painting, use the bracket keys [ ] to decrease or increase brush size on the fly.
Step 4: Configure Advanced Brush Settings
Navigate to Window > Brush Settings to open the full Brush Settings panel. This is where Photoshop brushes truly come to life. Key sections include:
- Shape Dynamics: Control how size, angle, and roundness vary as you draw.
- Scattering: Spread brush stamps randomly around the stroke path for effects like splatter or foliage.
- Texture: Overlay a pattern onto the brush stroke to simulate paper grain or canvas texture.
- Color Dynamics: Allow the brush to shift between foreground and background colors during a single stroke.
- Transfer: Link opacity and flow to pen pressure for natural-feeling strokes.
Step 5: Choose a Color and Layer
Select your foreground color by clicking the color swatch at the bottom of the toolbar and choosing from the Color Picker. Make sure the correct layer is selected in the Layers panel before you begin painting. For non-destructive editing, always paint on a dedicated layer rather than directly on a background or pixel layer.
Step 6: Start Painting
Click and drag on the canvas to apply the brush. Experiment with short dabs versus long sweeping strokes. If you are using a graphics tablet, vary your pen pressure to observe how the stroke responds when Shape Dynamics or Transfer settings are enabled. Undo mistakes with Ctrl+Z (Windows) or Cmd+Z (Mac).
Step 7: Import External Brush Packs
To expand your Photoshop brushes library with third-party packs, download a .abr file and save it to your computer. In the Brush Picker, click the gear or menu icon and select Import Brushes. Navigate to the .abr file and click Open. The imported brushes will appear as a new group at the bottom of your brush library, ready to use immediately.
Bonus Step: Create Your Own Custom Brush
Draw or place the shape you want to convert into a brush on a transparent or white background layer. Use a selection tool to select the area, then go to Edit > Define Brush Preset, give it a name, and click OK. Your custom brush will appear in the Brush Picker and can be refined further using the Brush Settings panel.
Common Questions About Photoshop Brushes
Can I use third-party brushes with older versions of Photoshop? Most .abr brush files are compatible across multiple versions, but some features in newer brushes — such as erodible tips or airbrush dynamics — may only function fully in recent releases.
What is the difference between Opacity and Flow? Opacity sets the maximum transparency of the entire stroke, while Flow controls how quickly paint builds up as you paint over the same area. Lowering Flow lets you layer color gradually, similar to real watercolor painting.
Important Tips for Better Results
- Organize Your Brush Library: Group brushes into named folders by purpose — illustration, photo retouching, textures — to find the right tool quickly during a project.
- Save Custom Presets: After dialing in a perfect brush configuration, save it as a new preset via the Brush Settings panel menu so you can recall it instantly in future sessions.
- Work at High Resolution: Always start documents at 300 DPI or higher when the final output is intended for print. Photoshop brushes at low resolution can appear pixelated when scaled up.
- Experiment with Blend Modes: Changing the brush blend mode in the options bar — such as Multiply, Screen, or Overlay — creates dramatically different visual results without altering the brush itself.
- Use a Graphics Tablet: Even an entry-level drawing tablet significantly improves control and expressiveness when working with Photoshop brushes, especially for illustration and retouching work.
- Back Up Your Brushes: Export your brush library periodically using the Export Brushes option to avoid losing custom presets when reinstalling the software.
Conclusion
Photoshop brushes represent one of the deepest and most rewarding areas of Adobe Photoshop to learn. By following the step-by-step process outlined in this guide — from activating the tool and adjusting basic settings to importing external packs and creating custom presets — you will build a solid foundation that supports virtually any creative direction you choose to pursue. Regular practice combined with deliberate experimentation is the most reliable path to mastery.
If you need a genuine Adobe Master Collection 2025 Windows Lifetime license, you'll find it at ABMKeys at a fair price with instant WhatsApp delivery.
Frequently Asked Questions
How do I add third-party brushes to Photoshop?
What is the difference between Opacity and Flow in Photoshop brushes?
Can I create a custom brush from an image in Photoshop?
What are the best Photoshop brush settings to achieve a watercolor effect?
You can get a genuine license from ABMKeys at a competitive price with instant WhatsApp delivery.
Buy Now