
Learn Photoshop Brush in Minutes
The Photoshop brush is one of the most powerful tools in digital design, offering limitless creative possibilities. This article walks you through a practical step-by-step guide on how to use it effectively, along with expert tips for professional results.
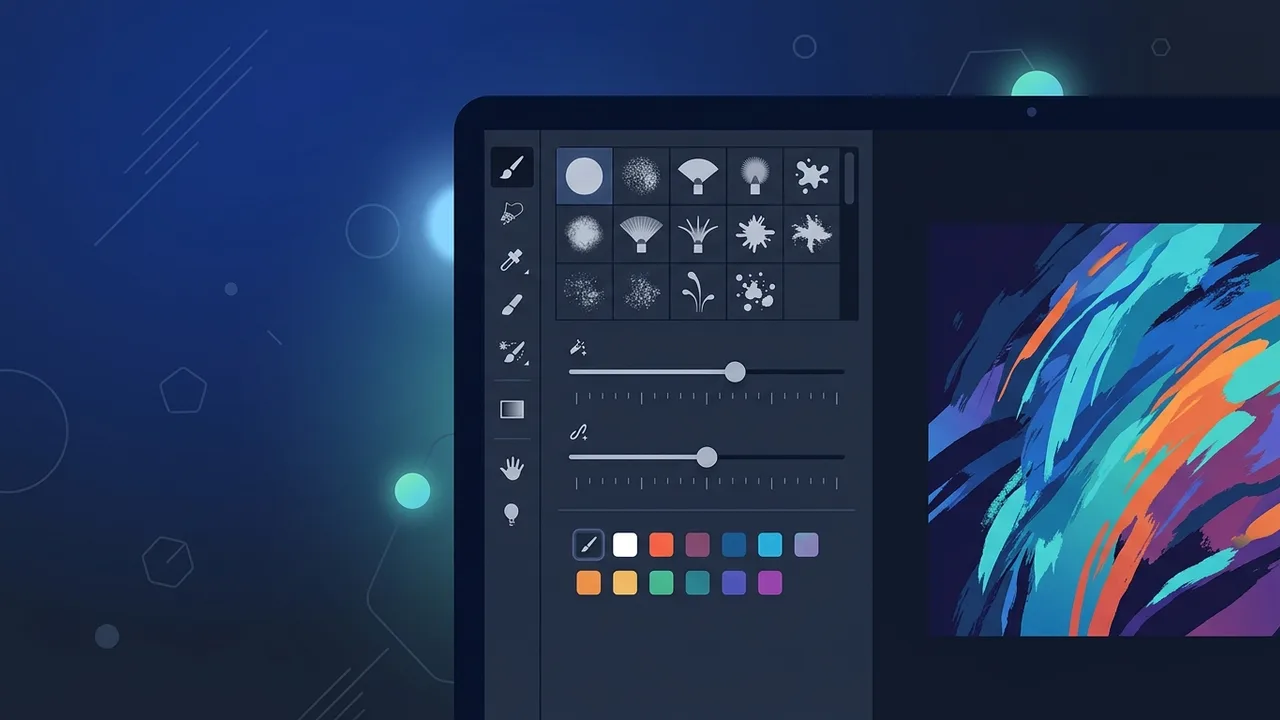
Overview of Photoshop Brush
The Photoshop brush is one of the most powerful and versatile tools available in Adobe Photoshop, enabling designers and digital artists to paint, sketch, retouch, and add visual effects with remarkable precision. Whether you are taking your first steps in digital design or looking to refine an already solid skill set, mastering the Photoshop brush is an essential milestone. Users across Saudi Arabia increasingly rely on this tool for a wide range of creative projects, from brand identity design and photo retouching to digital illustration and social media content creation.
What sets the Photoshop brush apart from conventional drawing tools is its ability to simulate traditional media — oil paint, charcoal, watercolor, and pencil — while simultaneously offering entirely digital brush types that have no real-world equivalent. Every parameter can be fine-tuned, giving the user complete control over the final output.
Key Features of the Photoshop Brush
Understanding what the Photoshop brush offers before diving into hands-on use will help you work more efficiently and creatively:
- Extensive Brush Library: Photoshop ships with hundreds of preset brushes organized into categories, covering everything from basic round tips to complex textured and splatter effects.
- Opacity and Flow Control: Adjust the Opacity slider to control color transparency and the Flow slider to regulate how quickly paint accumulates, allowing for subtle glazing or bold strokes.
- Pressure Sensitivity: When paired with a drawing tablet, the Photoshop brush responds dynamically to pen pressure, creating lines that vary in thickness and opacity just like traditional media.
- Non-Destructive Layer Workflow: Painting on separate layers keeps your work flexible, allowing you to edit or remove any element without affecting the rest of your composition.
- Advanced Brush Settings Panel: The dedicated Brush Settings panel provides granular control over Brush Tip Shape, Scattering, Texture, Color Dynamics, and much more.
- Custom Brush Import: Third-party brush packs in ABR format can be imported instantly, dramatically expanding your creative toolkit.
How to Use the Photoshop Brush — Step by Step
Follow this practical guide to go from opening the program to painting with confidence:
Step 1: Open Photoshop and Create a New Document
Launch Adobe Photoshop and navigate to File, then New to create a new canvas. Set your desired dimensions and resolution. For screen work, 72–96 DPI is standard; for print projects, use 300 DPI. Set the color mode to RGB Color for maximum color accuracy.
Step 2: Select the Brush Tool
Click the Brush icon in the left-side toolbar, or press the keyboard shortcut B to activate the tool instantly. The Options Bar at the top of the screen will update to display brush-specific settings.
Step 3: Choose a Brush Preset and Size
Click the brush thumbnail in the Options Bar to open the Brush Picker panel. Browse the available presets, adjust the size using the slider, or use the bracket keys — [ to decrease size and ] to increase it — for quick on-the-fly adjustments.
Step 4: Adjust Opacity and Flow
In the Options Bar, set the Opacity value to control how transparent each stroke appears, and set the Flow value to control the rate at which paint is applied. Lower values produce soft, translucent strokes ideal for blending, while higher values deliver bold, opaque marks.
Step 5: Customize Settings via the Brush Settings Panel
Open the Brush Settings panel by going to Window, then Brush Settings, or press F5. Here you can refine the Brush Tip Shape, enable Scattering for scattered paint effects, add Texture to simulate canvas or paper, and activate Shape Dynamics to link stroke variation to pen pressure or stylus tilt.
Step 6: Paint on a Dedicated Layer
Before making any marks, create a new layer in the Layers panel by clicking the New Layer icon at the bottom. This non-destructive approach means you can freely edit, transform, or delete your brushwork at any point without compromising the rest of your artwork.
Step 7: Import and Manage External Brush Packs
To add downloaded brush packs, open the Brush Picker, click the gear icon, and select Import Brushes. Navigate to your ABR file and click Open. The new brushes will appear immediately in your library, ready to use. Organize them into named groups for efficient access in future sessions.
Common Questions About the Photoshop Brush
The following are frequently asked questions that arise among users learning to work with the Photoshop brush:
- Can I create my own custom brush? Yes. Select any shape or image element, then go to Edit and choose Define Brush Preset. Give it a name and it will be saved to your brush library.
- What is the difference between Hardness and Softness? Hardness controls the sharpness of a brush stroke's edges. A Hardness value of 100% produces crisp, defined edges, while lower values create soft, feathered transitions ideal for blending.
- How do I save a customized brush configuration? After setting up your preferred parameters in the Brush Settings panel, click the New Brush icon at the bottom of the panel to save the configuration as a named preset.
Important Tips for Better Results
- Always paint on separate layers for each design element to keep your workflow flexible and non-destructive.
- Experiment with Blend Modes such as Multiply, Screen, and Overlay when using the Photoshop brush to create complex lighting and texture effects without additional effort.
- Work at 300 DPI or higher for any project intended for print to avoid pixelation when the artwork is scaled up.
- Hold the Alt key (Option on Mac) while the brush tool is active to temporarily switch to the Color Sampler and pick colors directly from your canvas.
- Spend time exploring different brush presets in a test document before committing to a style in your main project — this builds familiarity and speeds up your actual workflow.
- Save frequently used brush combinations into organized Brush Groups so you can locate them instantly across different projects.
Conclusion
The Photoshop brush is far more than a simple painting tool — it is a comprehensive creative system that, once understood, transforms how you approach every design project. By following the step-by-step workflow outlined in this guide and applying the practical tips shared here, you will be equipped to use the Photoshop brush with confidence, efficiency, and artistic freedom. As with any skill, consistent practice and deliberate experimentation are the most reliable paths to improvement.
If you need a genuine Adobe Master Collection 2025 Windows Lifetime license, you'll find it at ABMKeys at a fair price with instant WhatsApp delivery.
Frequently Asked Questions
How do I quickly change the Photoshop brush size while painting?
Can I import external brushes into Photoshop?
What is the difference between Opacity and Flow in the Photoshop brush?
You can get a genuine license from ABMKeys at a competitive price with instant WhatsApp delivery.
Buy Now