
How to Screenshot on Windows 10: The Right Way to Do It
Learn how to screenshot on windows 10 with easy, practical steps. A detailed guide covering keyboard shortcuts and built-in system tools to boost your daily productivity.
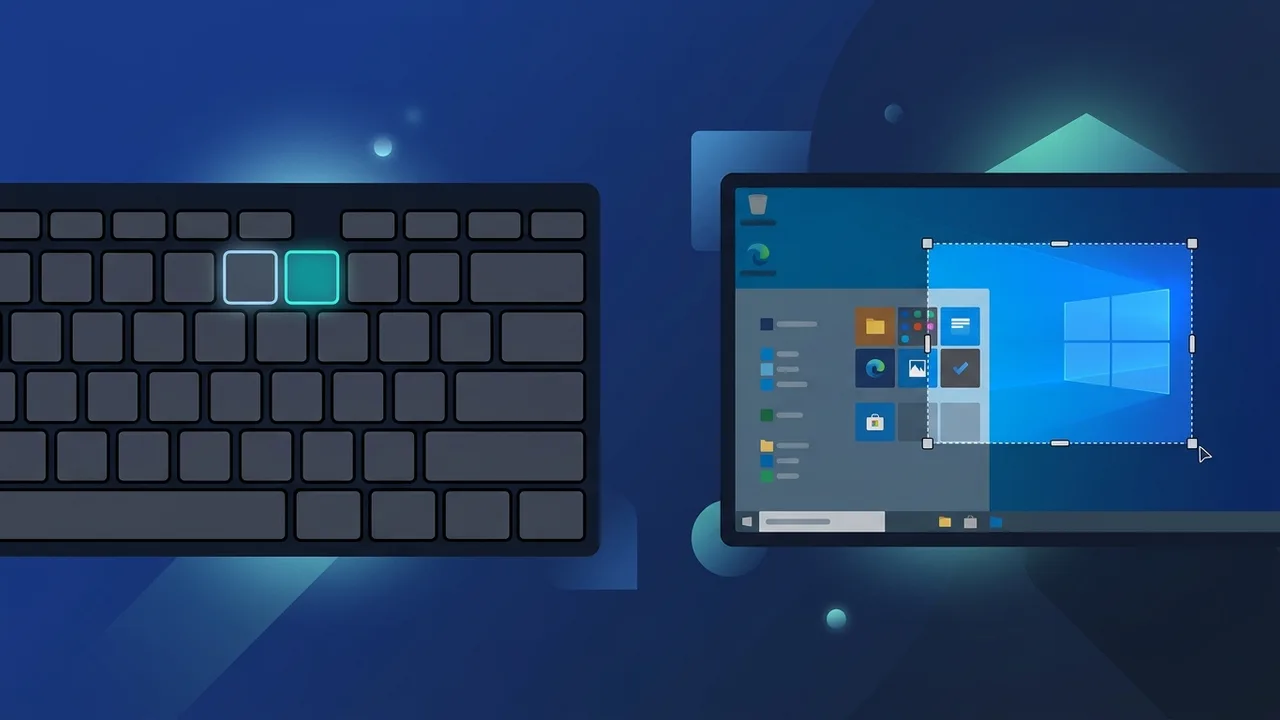
Learning how to screenshot on windows 10 is one of the most fundamental yet essential skills for any computer user today. Whether you are a student compiling study materials, a remote employee working from Riyadh, or a professional developer collaborating with team members across Saudi Arabia, taking high-quality screenshots is vital for smooth communication. Windows 10 offers several integrated tools that allow you to capture, edit, and share screenshots immediately without installing any external, heavy software. In this guide, we will walk you through the entire process step by step to help you maximize your productivity.
Overview of how to screenshot on windows 10
An overview of how to screenshot on windows 10 reveals that Microsoft has designed this operating system with flexibility in mind. In the past, taking a screenshot was a rigid process that only allowed copying the entire screen to the clipboard and manually pasting it into another app like Paint. Today, Windows 10 provides dynamic solutions ranging from capturing a single open window to extracting custom-shaped snippets.
The Saudi market, in particular, values these productivity-enhancing features, as they facilitate faster troubleshooting, seamless digital reporting, and efficient virtual training sessions in various educational and corporate institutions across the Kingdom.
Key Features
The built-in screenshot utilities on Windows 10 offer several cutting-edge features that set them apart:
- Custom Selection Shapes: Users are no longer restricted to full-screen captures. You can draw rectangular boxes, use free-form selection, or instantly capture single app windows.
- Automatic Saving Capabilities: Certain shortcuts bypass the need to manually open an editor and save, saving your captured screens directly to a designated folder.
- On-the-Fly Editing and Annotations: Tools like Snip & Sketch let you draw, write, highlight key information, or crop images immediately after capturing them.
- Delay Timer Functionality: You can configure a short delay (e.g., 3 or 10 seconds) before the screen freezes, allowing you to open dropdown menus or complex app views that disappear upon clicking.
- Clipboard Synchronization: Captured screens are copied directly to your clipboard, allowing you to paste them instantly into online chats, emails, or collaborative workspaces.
How to Use
To master how to screenshot on windows 10, there are multiple built-in methods depending on your exact requirements and workflow:
Method 1: The Standard Print Screen (PrtScn) Key
This is the most traditional method that has stood the test of time:
- Locate and press the Print Screen (often written as PrtScn or PrtSc) key on your keyboard.
- This action captures the entire screen and copies it directly to your clipboard.
- Open any editor (like MS Paint or Microsoft Word) and press Ctrl + V to paste the image, then save it manually to your device.
Method 2: Automatic Direct Saving (Windows + PrtScn)
If you are looking to capture multiple screens in rapid succession without manual saving:
- Press the Windows Key + Print Screen key simultaneously.
- Your screen will momentarily dim to indicate a successful capture.
- Navigate to your "Pictures" folder, open the "Screenshots" subfolder, and you will find your images saved automatically in high-quality PNG format.
Method 3: Capturing a Single Active Window (Alt + PrtScn)
If you only want to share a specific application window without exposing your taskbar or background clutter:
- Click on the target window to make it active.
- Press Alt + Print Screen together.
- The captured image of that specific window is copied to your clipboard, ready to be pasted (Ctrl + V) wherever needed.
Method 4: The Advanced Snip & Sketch Tool (Windows + Shift + S)
This is the most modern and versatile option available for custom screenshots:
- Press the key combination Windows Key + Shift + S.
- The screen will overlay with a dark tint, and a small toolbar will appear at the top with four main options:
- Rectangular Snip: Drag a box around the specific area you want to save.
- Free-form Snip: Draw any shape around the area you need.
- Window Snip: Hover and click on a specific application window to capture it.
- Full-screen Snip: Capture the entire display instantly.
- Once captured, a notification popup will appear on the bottom-right corner of your screen. Click on it to open the editing canvas where you can write, draw, highlight, and crop before saving.
Common Questions
Many users have questions regarding how to screenshot on windows 10 and troubleshoot common minor issues:
- Where are my screenshots saved? If you use the Windows + PrtScn shortcut, they are saved inside the Screenshots folder in your Pictures directory. If you use standard PrtScn, they are kept in your clipboard until you paste them manually.
- Why is my Print Screen button not working? On many compact laptops, the PrtScn key shares space with another function. You may need to press the Fn key simultaneously (Fn + PrtScn) to trigger the screenshot capture.
- Can I take screenshots without a physical keyboard? Yes, you can search for "Snipping Tool" or "Snip & Sketch" in the Windows Start menu and launch it directly with your mouse.
- Is it possible to record the screen as a video on Windows 10? Yes, Windows 10 includes a native gaming overlay called the Xbox Game Bar. Press Windows Key + G to open it and start recording your screen.
Important Tips
To optimize your workflow and make the most out of how to screenshot on windows 10, consider these professional tips:
- Turn on Clipboard History: Go to Settings > System > Clipboard and toggle "Clipboard History" to on. This lets you access multiple copied screenshots at once by pressing Windows Key + V.
- Remap the Print Screen Key: Save time by setting the PrtScn key to open the Snip & Sketch tool automatically. Go to Settings > Ease of Access > Keyboard, and turn on the "Print Screen shortcut" toggle.
- Organize Your Files Early: Avoid letting your screenshot folder accumulate hundreds of generically named images. Periodically organize and rename them for seamless retrieval later.
- Annotate for Clarity: When sharing technical issues with IT support or colleagues, use the built-in highlighter to draw attention to error codes or specific text fields to minimize follow-up questions.
Conclusion
In conclusion, understanding how to screenshot on windows 10 empowers you to communicate clearly, document essential information instantly, and collaborate productively. By leveraging these built-in shortcuts and customizable utility tools, you can significantly enhance your digital workflow without any third-party software dependencies.
If you need a genuine Windows 10 Pro Lifetime license, you'll find it at ABMKeys at a fair price with instant WhatsApp delivery.
Frequently Asked Questions
Where are screenshots automatically saved in Windows 10?
What should I do if the Print Screen (PrtScn) key is not working?
Can I capture the screen without using a physical keyboard?
Does Windows 10 offer a native feature to record the screen as a video?
You can get a genuine license from ABMKeys at a competitive price with instant WhatsApp delivery.
Buy Now