
How to Screenshot on Windows 10 Step by Step
Learn how to screenshot on windows 10 using simple built-in tools and shortcuts. Follow our practical, step-by-step guide to capture and share your screen in seconds.
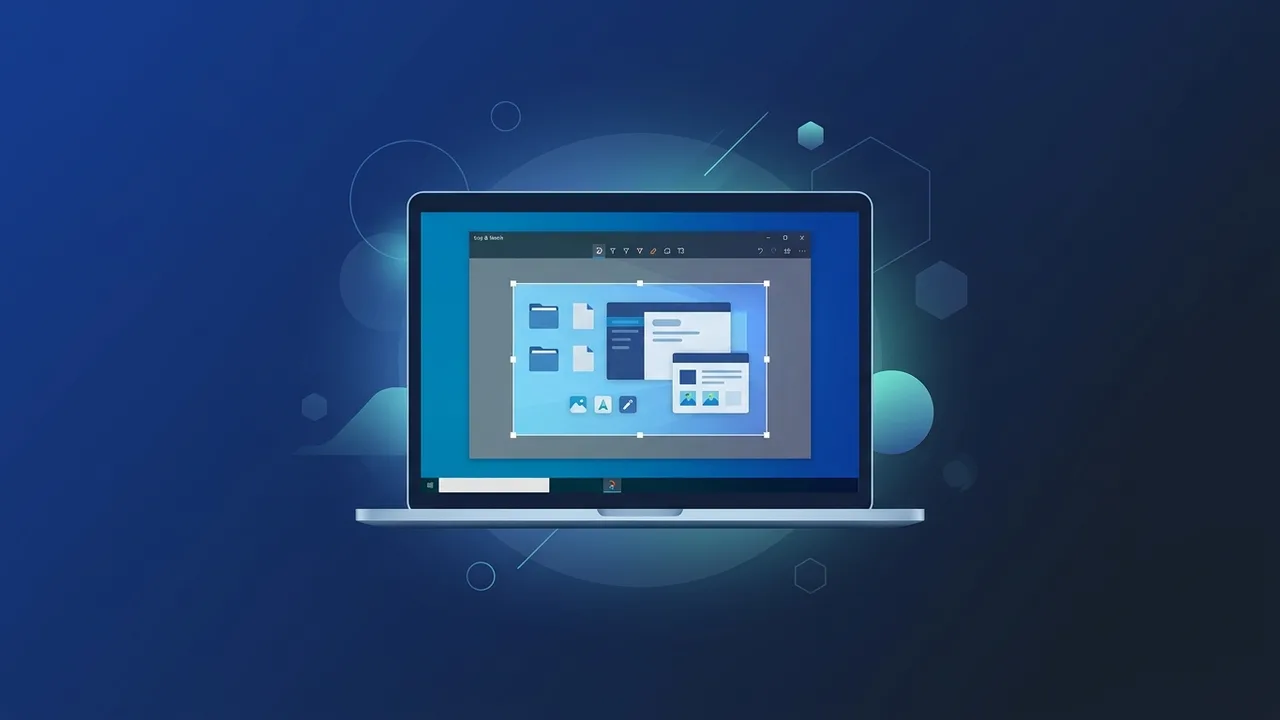
Many business teams, remote professionals, and individual students in Saudi Arabia constantly search for straightforward ways to document their digital activities, share instant tutorials, or report software behaviors. In this context, learning how to screenshot on windows 10 serves as a fundamental digital literacy skill that dramatically improves daily communication and operational efficiency. Instead of installing heavy third-party applications, the Windows 10 operating system provides highly functional, integrated utilities to capture everything on your screen within seconds.
Overview of how to screenshot on windows 10
In today's fast-paced corporate and academic environments, quick visual communication is highly valued. This is why having a clear understanding of how to screenshot on windows 10 is incredibly practical. Whether you are a business analyst in Riyadh saving a transactional proof of payment, a student archiving a specific slide of a virtual lecture, or a software engineer documenting technical errors for your IT department, the built-in Windows 10 tools make this task highly accessible. Mastering these quick shortcuts saves you valuable time and prevents unnecessary confusion when explaining complex tasks.
Key Features
The screen capturing tools native to Windows 10 are packed with multiple features that elevate user productivity. Here are the core advantages:
- Instant Performance: Simple, intuitive hotkeys allow you to capture any portion of your screen in a split second.
- Customizable Capture Fields: You have complete flexibility to capture the whole screen, a specific active window, a manually drawn rectangle, or a freeform shape.
- Integrated Annotation Tools: Modern utilities like "Snip & Sketch" come equipped with simple brushes, highlighters, and cropping tools to edit your capture before sharing.
- Direct-to-Disk Saving: Dedicated shortcuts bypass the traditional clipboard step, exporting captures as physical files directly to your storage.
- Efficient Board Syncing: Screen grabs are automatically copied to your clipboard, allowing you to paste them instantly into chat systems, email drafts, or document editors.
How to Use
Windows 10 offers several distinct techniques to capture your desktop screen. Here is a practical, step-by-step breakdown of how to screenshot on windows 10 using the most popular native tools:
1. The Classic Print Screen Key (PrtScn)
This traditional method is widely recognized and works flawlessly across almost all hardware configurations:
- Locate and press the PrtScn or Print Screen key on the upper right side of your keyboard.
- Once pressed, your entire screen image is immediately copied to your operating system's clipboard.
- Open an image editing software such as Microsoft Paint or an editor like Microsoft Word, and press the paste shortcut Ctrl + V. Save the file manually.
2. Instant Automated Saving with (Windows + PrtScn)
If you are capturing multiple scenes in rapid succession and want them saved directly as files without having to paste them manually each time:
- Press the Windows Key and the PrtScn key simultaneously.
- You will notice your screen dim briefly, which acts as a visual confirmation that the capture has occurred successfully.
- The system automatically generates a PNG file and stores it directly in the "Screenshots" folder, located inside your user's "Pictures" directory.
3. The Modern Snip & Sketch Tool (Win + Shift + S)
This is arguably the most flexible and advanced built-in tool for managing how to screenshot on windows 10 precisely:
- Press the following keyboard shortcut together: Windows Key + Shift + S.
- Your screen will immediately fade to a darker overlay, and a small, user-friendly toolbar will appear at the top center of your display.
- Choose your preferred capturing mode: rectangular snip, freeform snip, window snip, or full-screen snip.
- Click and drag your cursor over the desired screen area. The crop is instantly copied to your clipboard, and a notification banner appears. Clicking the banner opens a dedicated window for easy markup, drawing, and custom exporting.
4. The Traditional Snipping Tool
Even with newer updates, many users still rely on the classic Snipping Tool interface for their capturing needs:
- Type "Snipping Tool" into the Windows search bar next to the Start menu.
- Open the app, select your preferred mode, and click "New" to freeze the screen and drag-select your image. Save the file to your destination of choice.
Common Questions
To help you navigate any issues, here are the answers to the most common questions about how to screenshot on windows 10:
Where do my automated screen captures get saved?
When using the automated shortcut (Windows + PrtScn), your computer saves the images automatically as PNG files inside the "Screenshots" folder, which is located in your default "Pictures" folder.
How can I capture only a specific active window?
To capture a single active window without showing your taskbar or desktop, click on the target window to select it, then press Alt + PrtScn. The image will copy to your clipboard for pasting.
What should I do if the PrtScn key does not work on my laptop?
On several modern laptops, the function keys are locked. You may need to press Fn + PrtScn. Alternatively, you can use the modern Windows + Shift + S shortcut, which bypasses the PrtScn key entirely.
Is there a built-in way to record a screen video instead of a photo?
Yes, indeed. Windows 10 includes a built-in tool called the Xbox Game Bar. You can open it anytime by pressing Windows + G to record high-quality video screen captures.
Important Tips
To ensure a secure and organized workflow when utilizing how to screenshot on windows 10, keep these essential practices in mind:
- Guard Confidential Information: Always review your screenshots before sending them out. Crop or blur out personal login credentials, financial credit card info, or proprietary company data.
- Select the Correct File Extension: Use the PNG format when capturing screenshots with text, as it maintains crystal-clear legibility. Switch to JPEG format when saving large photo captures to preserve storage space.
- Install Updates Regularly: Make sure your Windows 10 operating system is regularly updated. Keeping your system current ensures that native capturing applications run smoothly and securely.
- Adopt a File-Naming Convention: Avoid clutter by renaming your screenshots right after saving. Categorize them into dedicated folders based on project or topic to find them instantly later.
Conclusion
Ultimately, knowing how to screenshot on windows 10 is a minor but highly impactful skill that optimizes digital work, enhances learning, and streamlines collaborative tasks. By leveraging the built-in capture features of your operating system, you can capture, annotate, and share important details effortlessly.
If you need a genuine Windows 10 Pro Lifetime license, you'll find it at ABMKeys at a fair price with instant WhatsApp delivery.
Frequently Asked Questions
Where are automated screenshots saved on Windows 10?
How can I capture only a specific active window?
What should I do if the PrtScn key is not working on my device?
Can I record my computer screen as a video instead of an image?
You can get a genuine license from ABMKeys at a competitive price with instant WhatsApp delivery.
Buy Now