
delete temporary files windows 11 Step by Step
Learn how to delete temporary files in Windows 11 safely and quickly with our practical step-by-step guide. Free up disk space and boost your computer's performance.
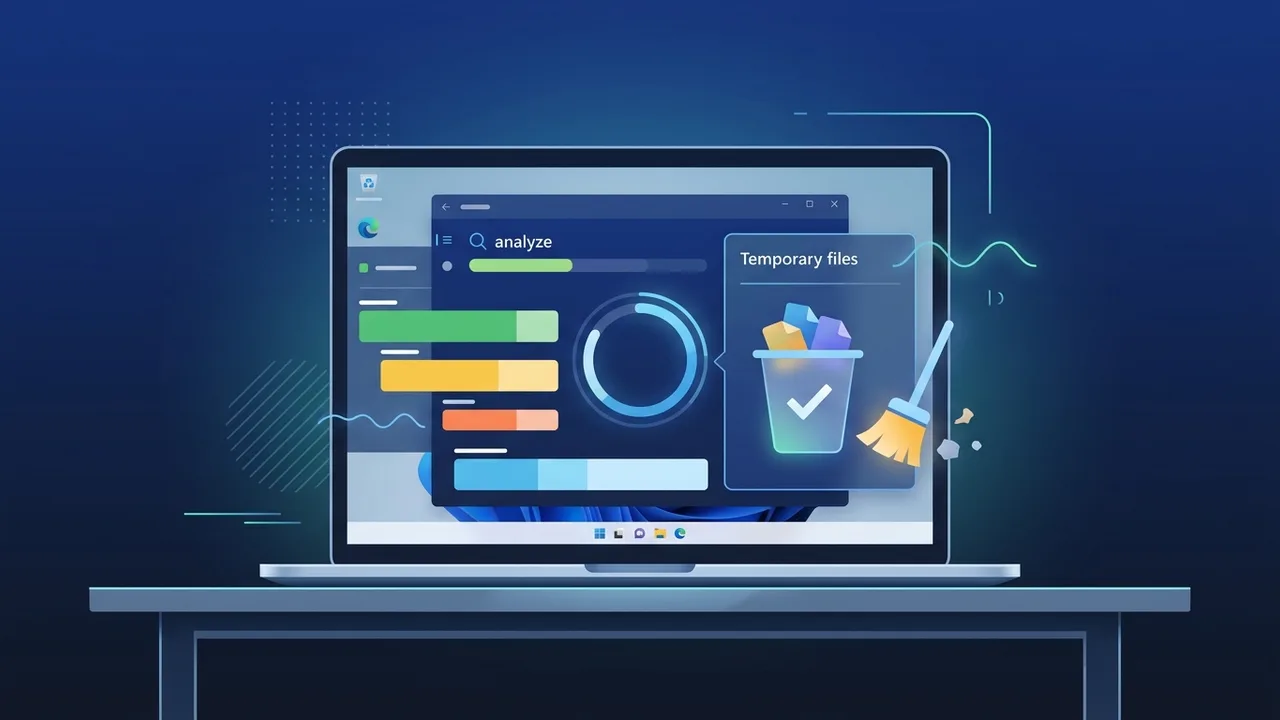
Overview of delete temporary files windows 11
As you use your computer over time, you will inevitably notice a dip in overall system speed and responsiveness. One of the main culprits behind this performance drop is the accumulation of unnecessary junk. Learning how to delete temporary files windows 11 is a highly effective way to reclaim lost storage space and restore your operating system to its peak efficiency. Temporary files are short-term data files created by your operating system and active software applications to complete tasks quickly. However, once those tasks are completed or programs are closed, these files become redundant clutter.
In the modern workspace, keeping your computer running smoothly is essential for maintaining productivity. Whether you are running business applications, hosting virtual meetings, or gaming, these temporary caches—including update remnants, browser cookies, error reporting logs, and installation leftovers—can clog up your solid-state drive (SSD). In this detailed guide, we will explore the core advantages of maintaining a clean system drive and provide you with safe, practical, and fast methods to keep your device optimized.
Key Features
When you regularly delete temporary files windows 11, you unlock several performance and security benefits that drastically improve your computing experience. Here are the most prominent advantages:
- Instant Disk Space Recovery: Caches and system upgrade remnants can grow to take up tens of gigabytes of space. Clearing them frees up valuable storage instantly.
- Enhanced System Responsiveness: A cluttered drive slows down the OS file system. Removing these files allows your SSD or hard drive to access important files much quicker.
- Resolving Application Conflicts: Corrupted temporary files can cause software applications to freeze, crash, or fail to launch. A fresh cleanup resets these caches and solves errors.
- Safer Privacy Management: Browsers and temporary folders keep traces of your offline and online activities. Deleting them ensures your privacy remains protected from local users.
How to Use
There are multiple safe, built-in methods to delete temporary files windows 11 without relying on third-party utilities that might compromise your security. Follow these step-by-step instructions to clean up your system:
Method 1: Utilizing the Windows 11 Settings App
The modern Windows 11 interface provides a clear and graphical way to manage your system storage:
- Click on the Start menu and select Settings (or press the Windows key + I shortcut).
- On the left panel, click on System, and then select Storage on the right side.
- Wait a few moments for the system to categorize your storage usage, then click on the Temporary files category.
- Windows will display a detailed list of all temporary files (including Windows Update Cleanup, Delivery Optimization Files, and Thumbnails). Check the boxes next to the files you want to delete. (We advise leaving the 'Downloads' folder unchecked if you have valuable files saved there).
- Click on the Remove files button at the top to complete the cleanup.
Method 2: Using the Classic Disk Cleanup Tool
For those who prefer a traditional administrative interface, the legacy Disk Cleanup tool remains highly effective:
- Press the Windows key, type Disk Cleanup in the search bar, and launch the tool.
- Select your system drive (typically the C: drive) and click OK.
- Click on the Clean up system files button to reload the tool with administrator privileges for a deeper scan.
- Check all the categories of temporary files you wish to remove, then click OK and confirm by clicking Delete Files.
Method 3: Deleting Files Manually via the Run Command
To directly target and purge the temporary system folders:
- Press the Windows key + R keys on your keyboard to open the Run dialog box.
- Type
%temp%into the box and press Enter. This will open the local user temp folder. - Press Ctrl + A to select all folders and files inside, then press Shift + Delete to bypass the Recycle Bin and delete them permanently. (If any files are currently in use by active background processes, simply click 'Skip').
- Open the Run dialog again, type
temp(without percentage symbols), press Enter, and delete the contents of this folder in the exact same manner.
Common Questions
Many system administrators and everyday computer users raise questions regarding the safety of cleaning up system files. Below, we address the most common concerns regarding storage optimization in Windows 11:
Performing these steps is entirely safe and will not interfere with your personal documents, photos, or installed applications. Windows is built to protect critical files, preventing you from accidentally deleting files that the system needs to run. Just remember to double-check your selections, particularly avoiding your browser's saved passwords or your personal Downloads folder, before confirming the final removal action.
Important Tips
To ensure a smooth, error-free experience when you delete temporary files windows 11, keep these essential professional tips in mind:
- Close Active Applications: Make sure all web browsers, document editors, and open software are closed before running any cleanups. This allows the system to delete all associated temporary files without blocking them.
- Enable Storage Sense Automation: You can automate this process entirely. Go to Settings > System > Storage and turn on Storage Sense. Configure it to clean temporary files on a weekly or monthly schedule.
- Avoid Untrusted Registry Cleaners: Be extremely cautious with third-party cleanup software. Many of these programs are unnecessary, contain ads, or may accidentally damage important system database files.
- Maintain a Genuine License: Running an activated, genuine Windows 11 operating system ensures that system updates install cleanly, reducing the generation of corrupted system cache files and error logs.
Conclusion
In conclusion, knowing how to delete temporary files windows 11 is a basic yet crucial maintenance task for anyone who wants to keep their computer running at peak speed. By spending just a few minutes performing a manual purge or setting up Windows Storage Sense to handle the task automatically, you will experience a far smoother, faster, and more reliable operating system that is ready to tackle any task.
If you need a genuine Windows 11 Pro Lifetime license, you'll find it at ABMKeys at a fair price with instant WhatsApp delivery.
Frequently Asked Questions
Does deleting temporary files in Windows 11 erase my personal documents?
What is the Prefetch folder and is it safe to clear?
How often should I clean the temporary files folder on my computer?
Why do some temporary files refuse to be deleted during cleanup?
You can get a genuine license from ABMKeys at a competitive price with instant WhatsApp delivery.
Buy Now