
car parking multiplayer photoshop livery from Zero to Pro
Learn how to use Adobe Photoshop to design high-quality custom car liveries and skins for Car Parking Multiplayer with our step-by-step guide.
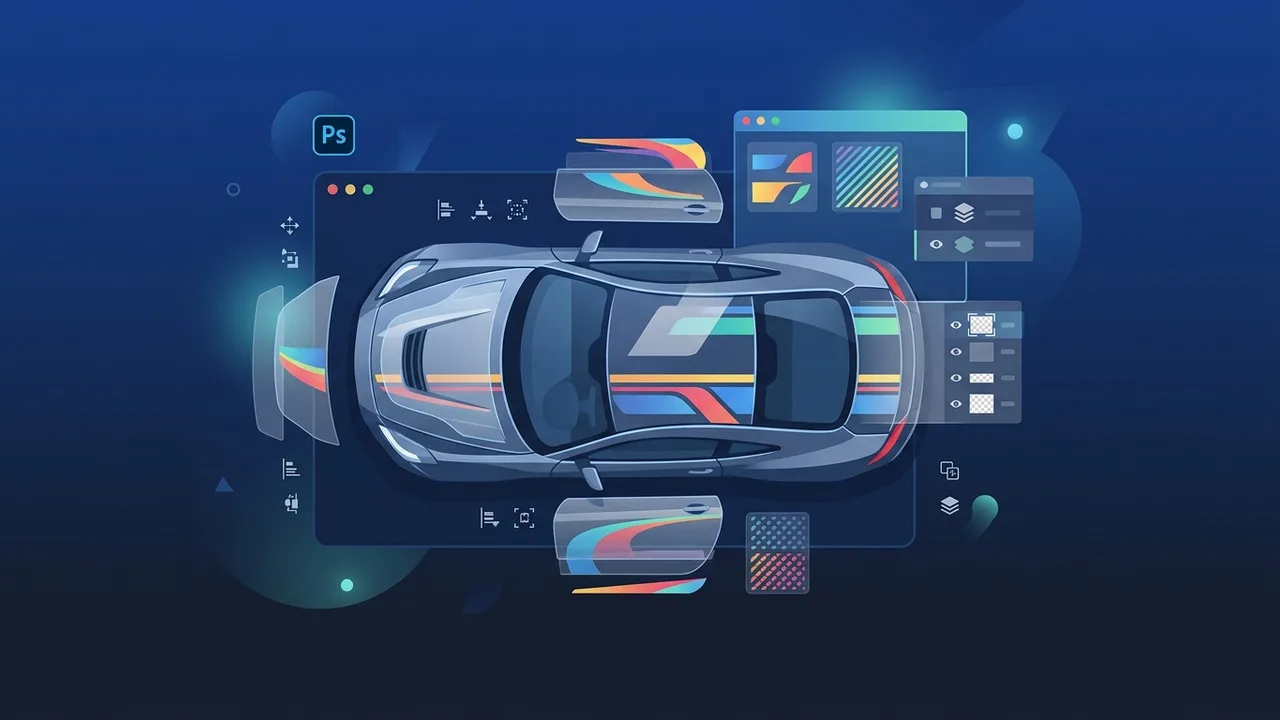
Car simulation games have garnered immense popularity worldwide, and Car Parking Multiplayer stands out as a prime platform for automotive enthusiasts to showcase their creativity. While the in-game editor offers decent customization options, professional creators and gamers seek more advanced design capabilities. Learning the techniques of crafting a car parking multiplayer photoshop livery is the absolute best way to break free from limitations and build stunning, high-resolution custom car skins.
Overview of car parking multiplayer photoshop livery
Creating a custom car parking multiplayer photoshop livery involves exporting the 2D texture maps (also known as UV templates) of the vehicles from the game files, modifying them using Adobe Photoshop, and then re-importing them. This workflow allows designers to create incredibly detailed modifications that are impossible to duplicate using only the built-in mobile tools.
This approach is widely adopted by virtual designers who want to apply realistic branding, complex vinyl wraps, intricate geometric patterns, and highly detailed sponsor decals onto their vehicles. By bridging the gap between desktop-grade graphic design software and mobile gaming, players can elevate their virtual garages to professional heights.
Key Features
Using Adobe Photoshop to craft your vehicle skins offers unique advantages that completely change how you customize your cars:
- Unrestricted Layering System: Unlike the limited vinyl slots in the mobile editor, Photoshop lets you work with hundreds of layers, groups, and masks for unparalleled control.
- Ultra-High Resolution Support: You can design your custom decals in 2K or 4K resolution, ensuring every single sticker and text line remains crisp and clear when viewed up close in the game.
- Advanced Text & Typography Options: Access thousands of professional fonts, warp text styles, and apply advanced layer styles like outer glows, drop shadows, and metallic chrome effects.
- Precision Selection and Pen Tools: Easily trace curves, create custom aerodynamic shapes, and align decals symmetrically across both sides of the vehicle.
How to Use
To design and apply your custom livery properly without encountering mapping errors, follow this step-by-step procedure:
Step 1: Obtain the Vehicle Template
Locate the UV layout or wireframe template for the specific car model you wish to design. These templates are widely shared within online modding communities and serve as your layout blueprint.
Step 2: Set Up Your Photoshop Project
Open the template in Photoshop. Create a new layer above the background template. Keep the template layer visible but locked, so you can always see where the body panels, doors, and hood are positioned relative to your designs.
Step 3: Apply Base Colors and Decals
Paint your primary car color on a dedicated background layer. Next, import your custom logos, vector graphics, and text elements onto separate layers. Position them precisely within the boundaries of the door panels, fenders, or hood as outlined by the template.
Step 4: Export Your Project
Once you are satisfied with the design, hide the underlying wireframe template layer. Export the final canvas as a high-quality PNG file, maintaining the exact original dimensions of the template file to avoid mapping distortions.
Step 5: Import the Skin into the Game
Transfer the saved PNG file to your mobile device or emulator directory, replacing the default skin texture file. Restart the game to see your custom design seamlessly wrapped around your vehicle.
Common Questions
Designing custom vehicle textures using desktop software can raise several questions regarding compatibility, safe installation practices, and file management.
In the section below, we address the most common inquiries from creators regarding how to maximize quality while keeping the game running smoothly on all devices.
Important Tips
To make sure your custom designs look polished and don't cause any technical issues, keep these valuable tips in mind:
- Use Smart Objects: Always import your decals as Smart Objects in Photoshop. This allows you to scale and rotate them repeatedly without losing any original image quality.
- Check Seams and Alignment: Car templates are split into flat pieces. When placing decals that wrap around the corners of the car, make sure the edges align perfectly where the panels meet.
- Optimize File Size: While high resolution is great, unnecessarily massive files can slow down your game performance. Find a balance, typically around 2048x2048 pixels.
- Rely on Genuine Design Software: Working on complex projects requires a stable environment. Genuine design tools ensure you don't lose hours of work due to sudden software crashes and grant you access to continuous security updates.
Conclusion
Designing a custom car parking multiplayer photoshop livery bridges the gap between graphic design and mobile gaming, giving you absolute power over your virtual cars. By utilizing the proper templates and professional design techniques, you can turn any basic vehicle into a stunning masterpiece that stands out in multiplayer servers.
If you need a genuine Adobe Master Collection 2025 Windows Lifetime license, you'll find it at ABMKeys at a fair price with instant WhatsApp delivery.
Frequently Asked Questions
What is the best file format to save custom car skins?
Can I design car parking multiplayer skins on mobile devices?
Where can I find the official car templates for designing?
Does using high-resolution custom liveries lag the game?
You can get a genuine license from ABMKeys at a competitive price with instant WhatsApp delivery.
Buy Now