
Android emulator for PC Windows 10 Step by Step
Learn how to properly set up and run an Android emulator for PC Windows 10 step by step. This practical guide covers essential system requirements, virtualization settings, and optimization tips.
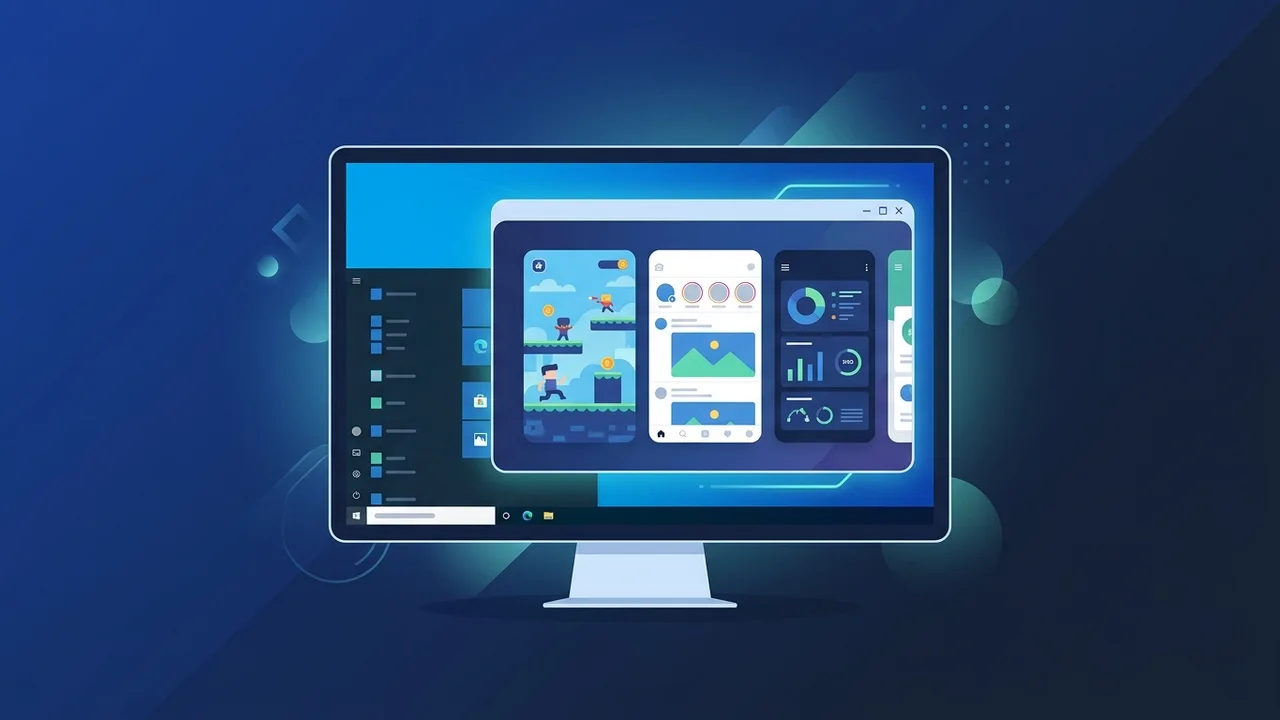
Overview of Android emulator for PC Windows 10
Many users and developers in Saudi Arabia seek reliable ways to experience their favorite mobile apps and high-end games on a larger monitor. Setting up an Android emulator for PC Windows 10 provides a seamless bridge, creating a robust virtual Android environment directly on your desktop or laptop. This specialized software allows you to run applications, test newly developed APKs, and enjoy immersive mobile gaming without draining your phone's battery or wearing down its hardware.
The overall performance of any Android emulator for PC Windows 10 depends heavily on your system resources and configuration. Modern emulators utilize advanced virtualization protocols to deliver high responsiveness and stability, making the overall desktop experience incredibly fluid and identical to premium physical Android devices.
Key Features
Choosing to deploy a dedicated Android emulator for PC Windows 10 brings several highly practical advantages to your daily computing routine:
- Advanced Control Mapping: Seamlessly bind your keyboard, mouse, or external gamepad to virtual on-screen touch controls, offering unparalleled precision in gaming and navigation.
- Multi-Instance Support: Run multiple active instances of the emulator simultaneously. This allows you to manage different social accounts or play multiple games at once.
- Optimized Visual Performance: Harness the full power of your dedicated GPU to render high-definition graphics with stable, elevated frame rates that exceed mobile hardware limits.
- Excellent Developer Workspace: App creators can easily test layouts, debug operations, and verify responsive designs in a safe, controlled virtual sandbox.
How to Use
To establish a fast, lag-free virtual system, follow these practical steps to download, install, and customize your setup:
Step 1: Enable Hardware Virtualization (VT)
Restart your computer, enter the BIOS/UEFI utility, and make sure that Intel Virtualization Technology (Intel VT-x) or AMD-V is fully enabled. This critical setting allows the Android emulator for PC Windows 10 to communicate directly with your processor, multiplying rendering speeds.
Step 2: Download a Trusted Emulator Installer
Visit the official website of your preferred reputable emulator. Download the appropriate offline installer, ensuring it matches your 64-bit Windows 10 operating system for maximum compatibility.
Step 3: Run the Installation Wizard
Launch the downloaded setup file. Follow the step-by-step wizard to install the application. For the fastest loading times, install the software on a solid-state drive (SSD).
Step 4: Sign in with Your Google Account
Once installed, launch the program. On the startup home screen, enter your Google account details. This allows safe, immediate access to the official Google Play Store to download your library.
Step 5: Configure Engine and Resource Allocations
Navigate to the program's settings menu. Allocate at least half of your physical CPU cores and RAM to the software engine to balance both Windows 10 and emulator performance.
Step 6: Map Your Custom Controls
Use the built-in control configuration tool to drag and drop keyboard hotkeys or mouse clicks over the simulated touch buttons on the screen.
Step 7: Install and Run Apps
Open the store, search for any productivity tool, social application, or game, click install, and launch it directly from your desktop.
Common Questions
Many computer enthusiasts look for clear details regarding emulation safety and requirements. Here are the most common questions answered:
- Does it require high-end specifications? Not necessarily. While most tools run on entry-level specs, a quad-core processor and 8GB of RAM are highly recommended for optimal results.
- Are these virtual programs safe to use on Windows 10? Yes, provided you download the installers exclusively from official, verified source websites.
- Can I transfer files between my PC and the virtual interface? Absolutely. Most emulators feature built-in shared folder options, making drag-and-drop file sharing quick and easy.
Important Tips
To keep your Android emulator for PC Windows 10 running at peak efficiency, remember these expert recommendations:
- Keep your graphics card drivers fully updated to prevent screen tearing, visual glitches, or unexpected application crashes.
- Maintain a fully updated Windows 10 environment to ensure all core system files and security patches are active and compatible.
- Always close heavy background software, such as video editors or web browsers with dozens of open tabs, before launching your emulator.
Conclusion
Running a premium Android emulator for PC Windows 10 successfully merges the massive library of mobile applications with the high-performance display and controls of a desktop computer. By following this easy step-by-step setup guide, you will instantly unlock a powerful, fast virtual ecosystem ready for work or recreation.
If you need a genuine Windows 10 Pro Lifetime license, you'll find it at ABMKeys at a fair price with instant WhatsApp delivery.
Frequently Asked Questions
Does running an Android emulator on Windows 10 require enabling a specific BIOS setting?
What are the minimum specifications to run an Android emulator on Windows 10?
Can I run multiple Android games and apps at the same time?
How can I boost the performance of the emulator if it runs slowly?
You can get a genuine license from ABMKeys at a competitive price with instant WhatsApp delivery.
Buy Now